Introduction
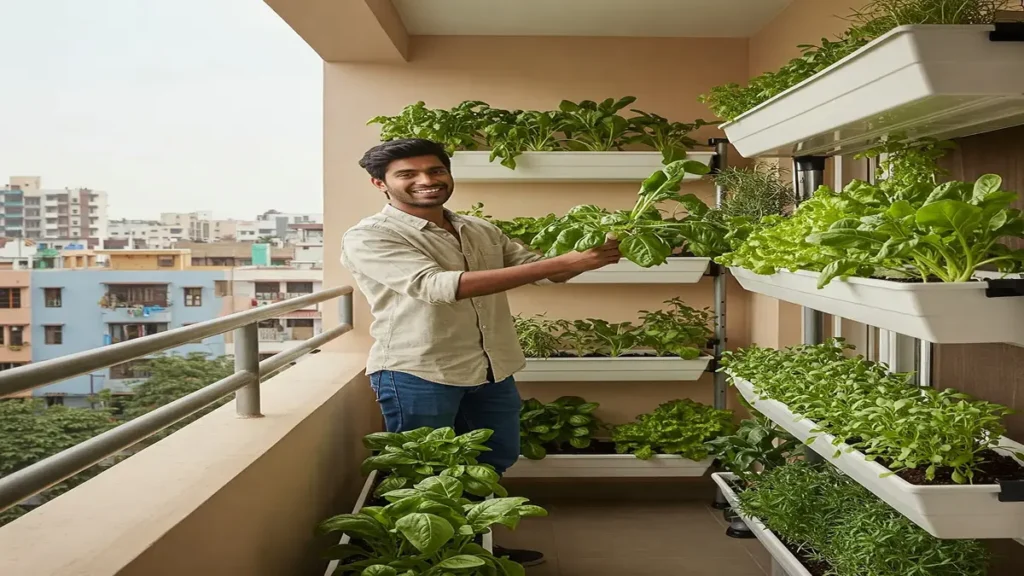
Urban areas will house 80% of the world’s population by 2050. This creates a unique challenge to grow food in compact spaces. Every farmer in India—whether living in a city flat or a village—has faced it: rising fertilizer prices, unpredictable rains, shrinking land. You sow with hope, but the harvest? Always uncertain.
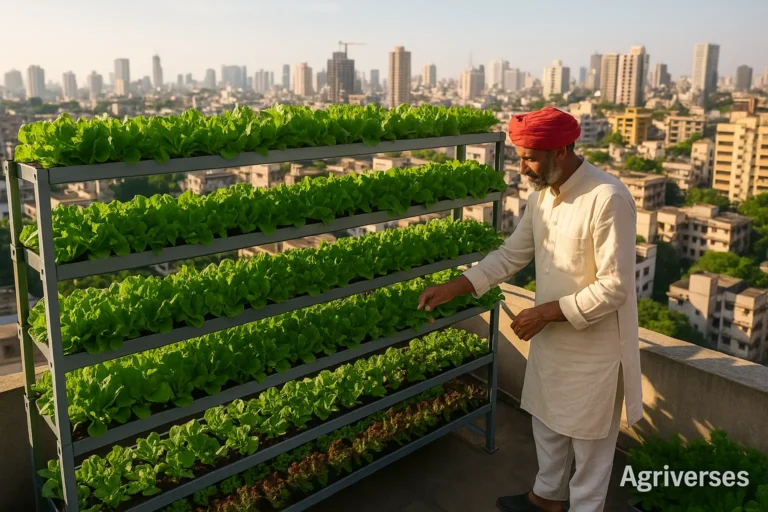
In such times, a smart question arises: “Can I grow more in less space… organically?” That’s where vertical farming steps in—not just as a modern technique, but as a movement for self-reliant, chemical-free food growing.
Whether you’re a curious urban gardener, a student dreaming of agripreneurship, or a progressive farmer looking for a low-cost start, this guide will walk you through how to start vertical farming, step-by-step.
If you live in a city, see how Urban Vertical Farming works in rooftop or rented spaces.
1. Understanding Vertical Farming Basics
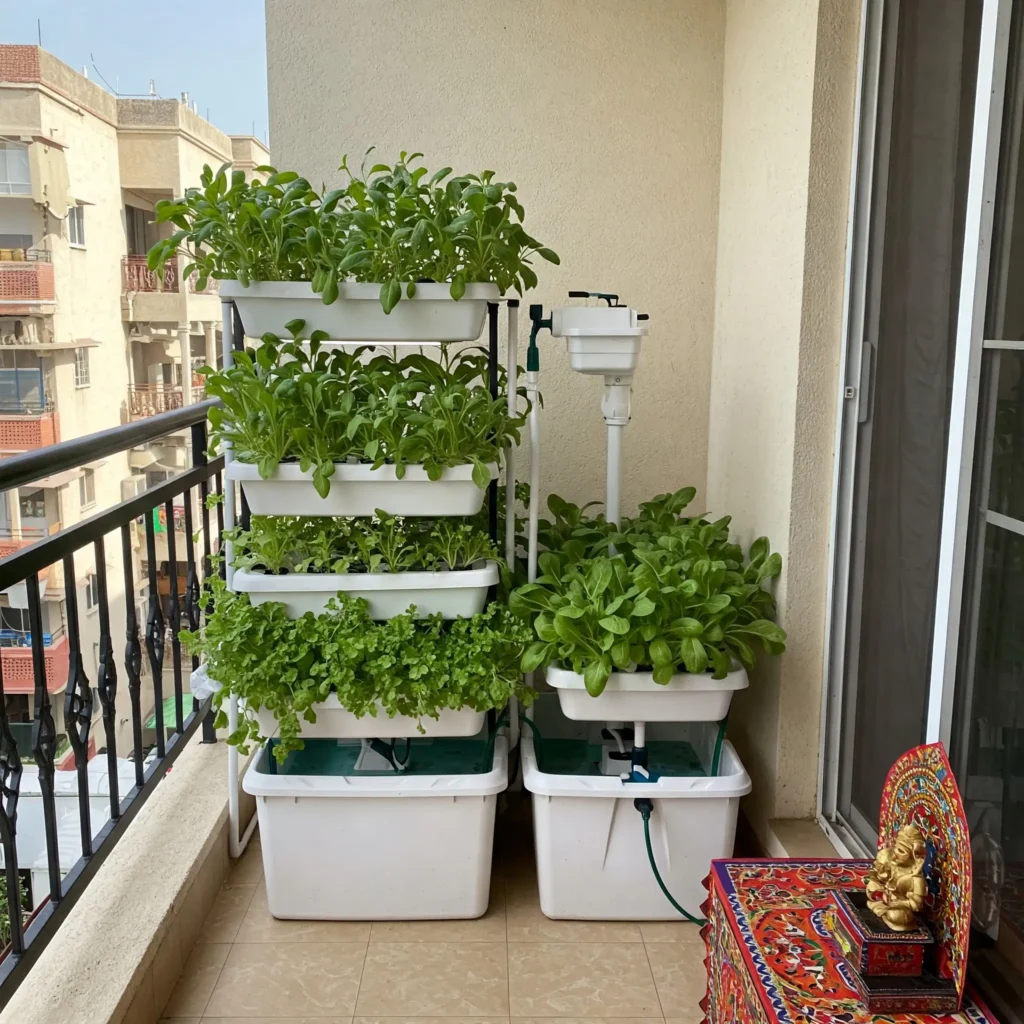
Vertical farming revolutionizes food production through a simple yet brilliant approach. Plants grow in stacked layers instead of spreading across the ground. This modern method lets crops thrive in controlled settings without soil. Home gardeners can turn their unused vertical spaces into thriving garden spots.
For absolute beginners, start with our Beginner’s Guide to Vertical Farming at Home.
2. Define Your Goal: Home, Urban, or Commercial?
Before jumping into setups and seeds, pause and ask:
“Why am I starting vertical farming?”
There’s no one-size-fits-all. In my own farming journey, I’ve seen 3 common profiles:
- Home Growers: Urban dwellers growing spinach and coriander in balconies.
- Urban Entrepreneurs: Starting hydroponics or organic salad farms for local markets.
- Rural Farmers: Using vertical space to maximize yield in small plots—especially during rabi or off-season cycles.
Your goal decides your setup.
“Zameen kam hai? Toh uncha socho.” — This was my Dadaji’s advice when I first stacked crates for spinach in our Azamgarh farm.
So get clear—Is it for household vegetables, or commercial sales? Are you experimenting, or scaling?
3. Understand Your Space and Light
Now that your goal is clear, let’s inspect the space. Even a 3×3 ft. balcony or 10×10 rooftop can become a mini-farm—if sunlight and airflow cooperate.
Here’s what to look for:
- Sunlight Hours: Minimum 4–6 hours of direct or filtered light. South-facing balconies work great.
- Air Circulation: Poor airflow = fungal risk. Always allow 6 inches between vertical layers.
- Drainage: Place trays or crates over jali stands so excess water drains well.
If sunlight is limited, do not panic—grow lights (LED-based, energy-efficient) can help.
Bonus Tip: During summer, leafy crops (amaranth, coriander) love semi-shade, while tomatoes and brinjals need direct sun.
Planning Your Home Vertical Farm

A well-laid-out plan sets the foundation for successful home vertical farming. You need to think over several vital factors that will shape your setup’s success before buying any equipment.
1. Assessing your available space
Your first task is finding the right spot for your vertical farm. Every indoor space need electricity, water, and good ventilation. Commercial setups work best with 5 to 6.5-meter ceiling heights, but home systems can be smaller
. You could pick a sunny corner, an empty closet, a balcony, or a grow tent based on what you have [1]. The space’s natural light availability will determine if you need artificial lighting.
2. Setting a realistic budget
Your investment in vertical farming changes based on scale and complexity. Here’s what you should expect:
- Simple vertical farming system: ₹10,000 to ₹50,000
- LED grow lights: ₹2,000 to ₹30,000 per light
- Hydroponic system: ₹5,000 to ₹50,000
- Climate control: ₹3,000 to ₹20,000
You can cut costs substantially by using repurposed household items or building DIY shelf systems.
3. Choosing the right crops for beginners
Some plants grow better in vertical systems. Basil, mint, and chives are forgiving herbs that grow quickly. Lettuce, kale, and spinach don’t need much space and produce well. Strawberries make an excellent choice because they yield abundantly in vertical systems. New gardeners should pick crops that share similar growing needs [10].
4. Determining light requirements
Light plays a vital role in plant growth. Low-light tropical plants need 150–250-foot candles for 8-10 hours daily to survive and 300–400-foot candles to thrive. Ferns demand more light—around 700-foot candles. LED grow lights offer an energy-efficient option when natural light isn’t enough. Place them about 3 feet above your plants. A 10×8 feet wall needing 400-foot candles require about 8 high-power LED bulbs.
Building Your First Vertical Garden System
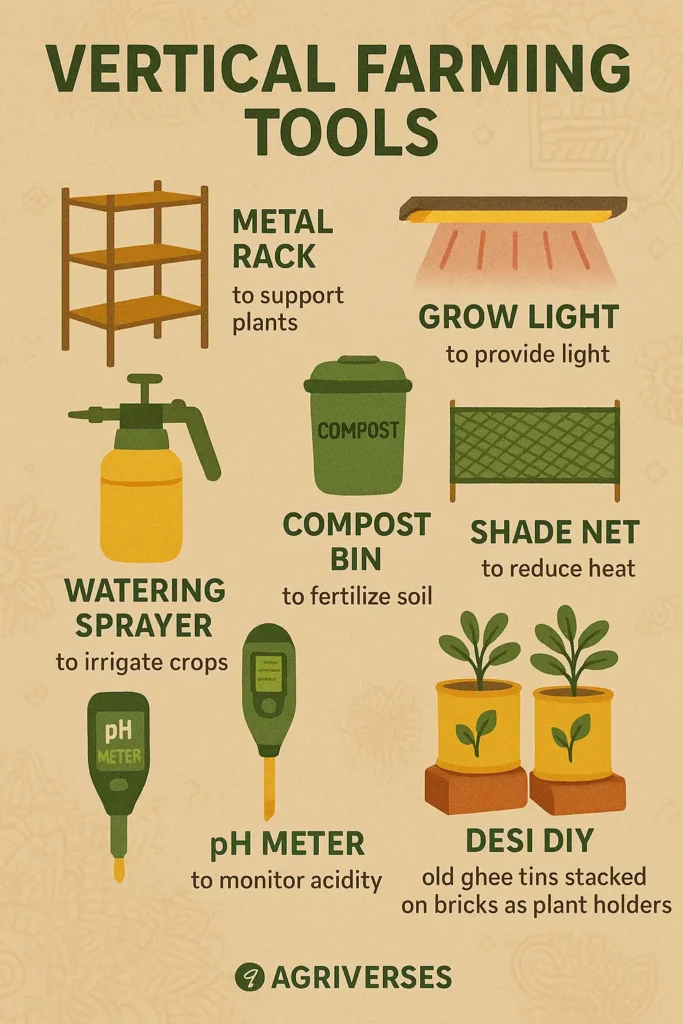
You might be surprised how easy it is to create a vertical garden system. A few simple tools and materials can help you transform any indoor or outdoor space into a productive growing area. Let me share some DIY and ready-made options that work well for different spaces and budgets.
1. Simple DIY shelf systems
A vertical garden starts with simple shelving. Cedar posts, hex wire, and terra cotta pots create a functional garden that doubles as a privacy screen. Cattle panels or welded wire make excellent support structures. T-posts cost about ₹337.52 each and work great for holding up trellises. You can create an extensive vertical growing space with 600 inches of welded wire at ₹2,953.32.
Building a frame from 2’x4′ lumber with planter boxes and shelves gives you space for pots. Adding planks to the sides and top creates a solid structure that supports the weight of soil and plants.
2. Wall-mounted vertical gardens
Wall gardens put unused vertical space on fences and walls to good use. A reinforcing mesh secured to your wall creates an ideal framework for hanging planter boxes. Planters made from decking timber add a rustic look that enhances any outdoor space.
Indoor spaces benefit from felt pocket planters mounted with screws. These pockets hold soil and plants, creating a living wall that enhances visual appeal and air quality.
3. Repurposing household items
Your household objects can become budget-friendly planters. Old picture frames take on new life when you attach small wooden boxes to the back. Cut-off plastic bottles with drainage holes work great for herbs and small plants. Empty tin cans or plastic soda bottles make excellent DIY planters once you add drainage holes.
An over-the-door shoe organizer becomes a vertical planter when filled with soil. Wooden pallets attached to walls or fences with hooks create mobile gardens.
4. Ready-to-use vertical garden kits
Commercial kits offer hassle-free solutions. Wall vertical garden kits combine beauty with functionality, and circular kits give you flexible placement options. Some wooden kits made from 100% fir provide plastic-free options with free-standing designs [5].
The market includes options like the 5-Tier GreenStalk Vertical Garden with 30 planting pockets. These kits come with everything you need – seedling pots, seed varieties, growing medium, and detailed setup and maintenance instructions.
Need a hands-on example? Follow our DIY Guide to Build a Vertical Farm at Home.
Essential Maintenance and Care
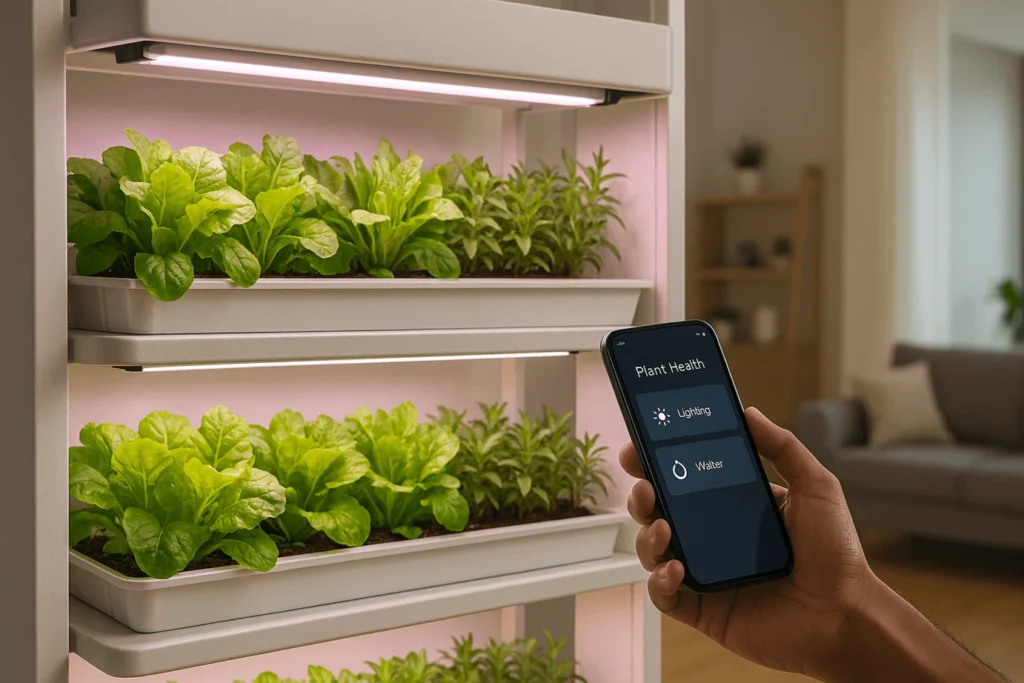
Your vertical farm needs constant care and attention to detail. A proper maintenance routine helps your plants thrive and produce healthy harvests throughout the year.
1. Watering techniques and schedules
Drip irrigation stands out as the quickest way to water vertical farms. The system delivers water straight to plant roots and cuts waste by up to 80% compared to traditional methods. Green walls need regular watering since they have less soil than ground plantings. Most plants do better with deep, occasional watering that pushes roots downward. Water should come from the base instead of spraying from above to stop fungus and mildew growth [17].
2. Nutrient management for healthy plants
Vertical system plants need macronutrients (nitrogen, phosphorus, potassium, calcium, magnesium, sulfur) and micronutrients (iron, manganese, zinc, copper, molybdenum, boron). Careful nutrient management becomes vital for hydroponic and aeroponic systems that use pre-mixed solutions developed for different growth stages. The right pH level—between 5.5 and 6.5—is a vital part of nutrient uptake. Organic fertilizers work better than chemical ones because chemicals can harm soil quality and damage plant roots.
3. Pest prevention in indoor environments
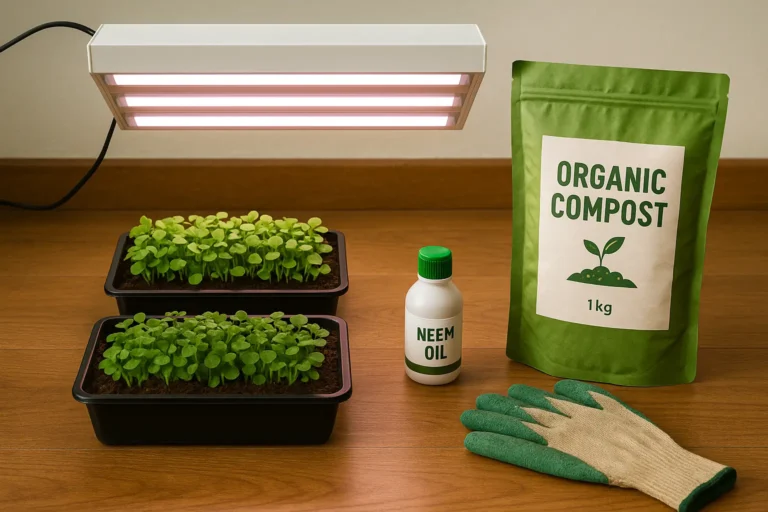
Vertical farming reduces pest problems compared to outdoor gardening, but prevention remains key. Plant inspection should happen often to catch signs of infestation like yellow leaves or twisted foliage. Natural solutions work best—neem oil and insecticidal soap handle most pests effectively. Beneficial predators like wasps and spiders can help you maintain your garden. Flowers attract these helpful insects naturally.
4. Monitoring plant health
Regular checks catch problems early before they get worse. Monthly moisture level tests ensure proper irrigation. Yellow leaves might show that specific nutrients are missing. Plants that wilt need investigation to determine if they get too much or too little water. Light deficiency often leads to leggy plant growth.
. Modern leaf-mounted sensors track plant health with live data and show stress levels before visible signs appear.
Conclusion
Vertical farming offers a practical solution to grow fresh, homegrown produce in limited spaces. My research and hands-on experience show that success relies on careful planning, proper setup, and consistent maintenance.
A small-scale start helps you experiment with different growing techniques without breaking the bank. I recommend beginning with simple shelf systems and crops like herbs and leafy greens that need minimal attention. Once you master these simple techniques, you can move on to more sophisticated setups with confidence.
The advantages far outweigh any original hurdles you might face. Urban dwellers will appreciate the space efficiency, water conservation, and ability to grow crops year-round. The joy of picking fresh, pesticide-free produce from your living space adds immense value to this growing method.
Ready to Take Your First Step Towards Urban Farming?
Vertical gardening is just the beginning! Imagine combining it with organic farming technique or exploring the future of sustainable agriculture in India — all from the comfort of your home.
Let’s Grow Together
If this article inspired or helped you, please share it with a friend, student, or farmer you care about.
Want more organic farming insights and desi solutions?
Explore our full Organic Farming series at Agriverses.



5 Comments