Introduction
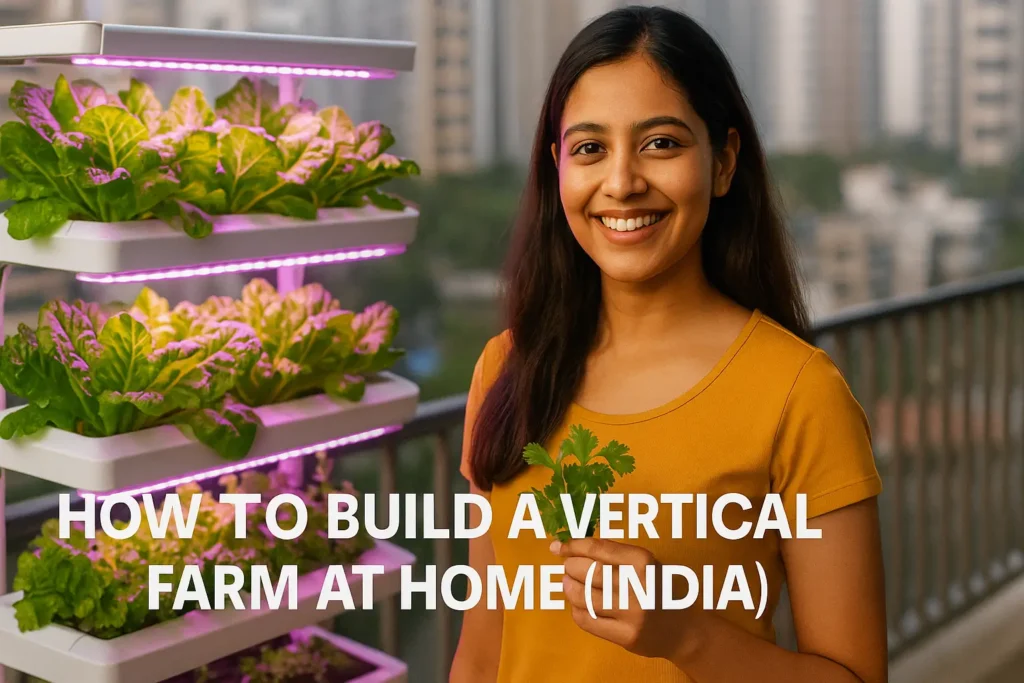
Thinking of starting a vertical farm at home? You’re not alone. Every time I visit my ancestral village, I hear stories of when food was fresh, soil was alive, and seasons were trusted. Today, with rising costs, unpredictable weather, and limited space, growing your own food feels more important than ever.
In this simple guide, we will show you how to set up a vertical farm in just a 5×5 ft. space — using basic tools, low budget, and a desi-smart approach that actually works.
If you’re curious how this works in small homes, don’t miss our Beginner’s Guide.
Planning a 5×5 ft Vertical Farm Setup
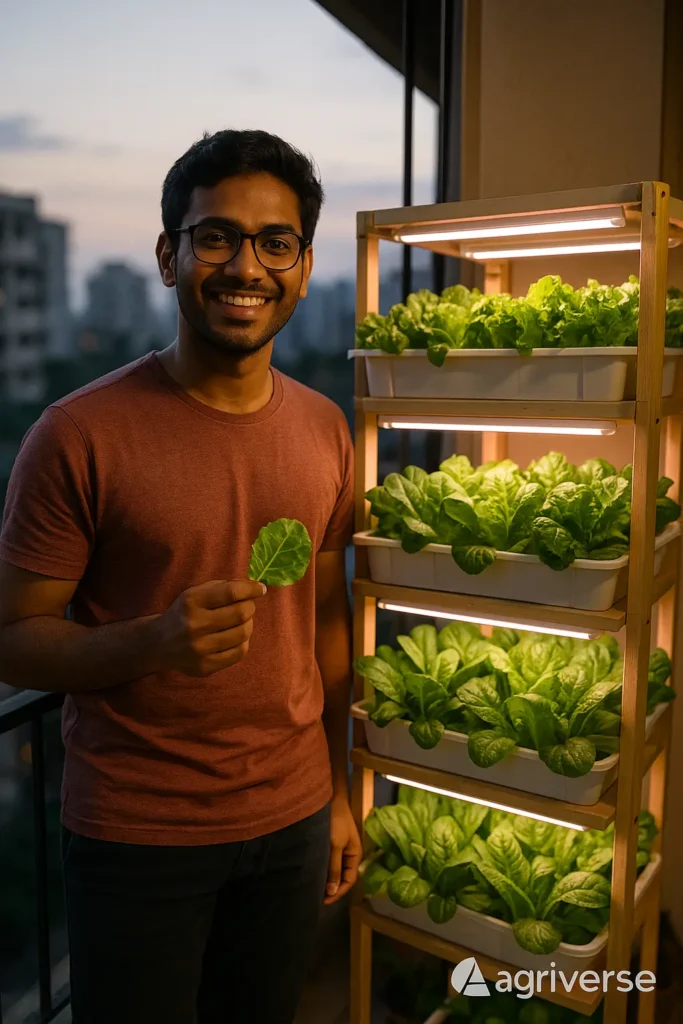
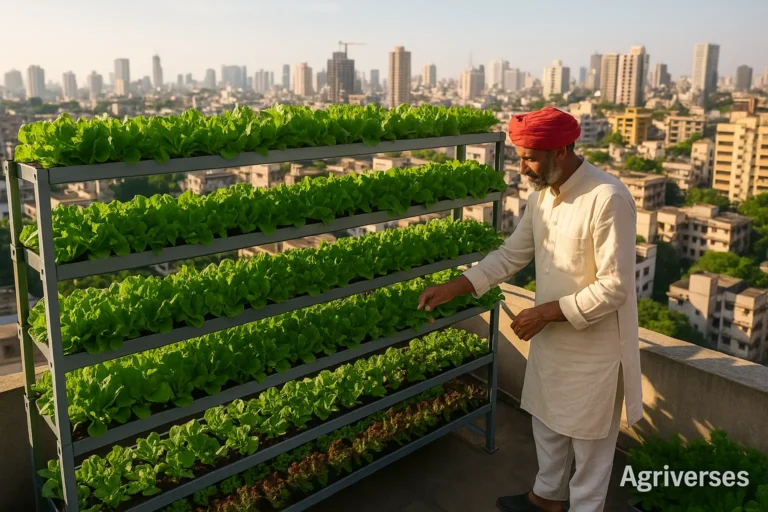
Before we get our hands dirty, let’s start with a plan. Vertical farming sounds complex, but at its heart, it is just smart space management. Think of it as building a multi-storey apartment for your plants. A small 5×5 foot space—the size of a small balcony, a corner in your kitchen, or even a section of your study—is more than enough to start.
First, observe the space. Is there a power outlet nearby? This is crucial for your grow lights. How much vertical height can you use? Most standard racks are about 6 feet tall, which is perfect. Don’t worry about sunlight; we are going to create our own, perfectly optimised sun with LED lights. This is the magic of vertical growing—it frees you from the constraints of natural light and seasons.
Whether it’s your balcony, kitchen verandah, or a small terrace corner — make sure it:
- Gets at least 4–6 hours of indirect sunlight
- Has access to a plug point (for grow lights if needed)
- Is safe from heavy winds and animal interference (especially pigeons or street cows in Indian cities!)
This is your blank canvas. Think of it like sowing the seed for a greener lifestyle.
Materials & Tools Checklist: The Backbone of Your Mini Farm
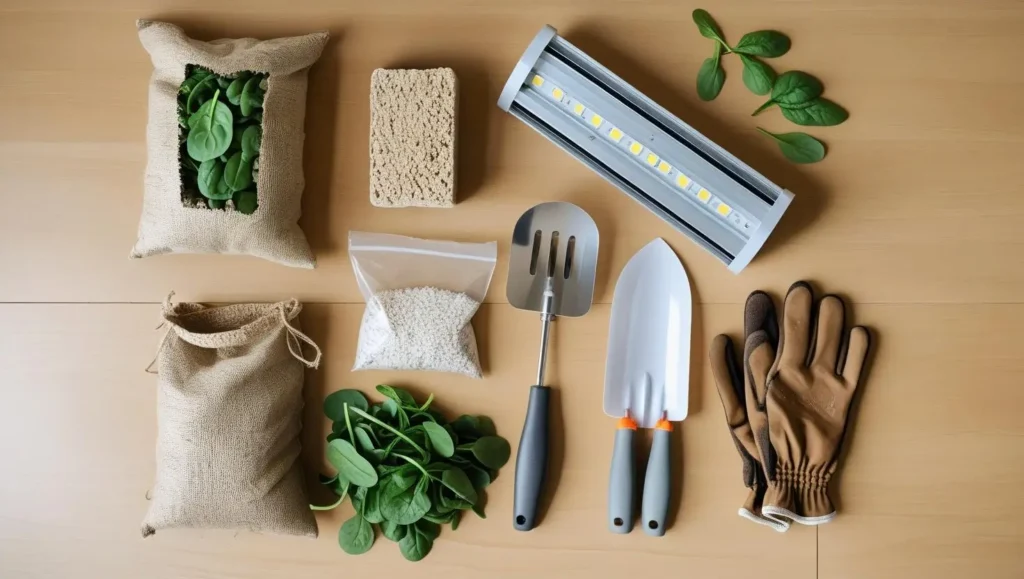
Starting a vertical farm does not require a huge investment or complicated machinery. Here’s a breakdown of what you’ll need, explained in simple terms.
- Vertical Racks (Metal or Plastic): You can find 4 or 5-tier metal or heavy-duty plastic racks online or in a local hardware store. These are the skeleton of your farm. They are sturdy, easy to assemble, and give you the vertical space you need. These will hold your grow trays or pots. Old kitchen racks can also be reused.
- LED Grow Lights (if less sunlight): This is your most important tool. Don’t just use any regular LED bulb. You need full-spectrum LED grow lights. Think of these lights as a special diet for your plants, providing the exact wavelengths of light (blue for leaf growth, red for flowering) they need to thrive. For a start, simple T5 or T8 LED tube lights designed for plants will work wonders. You will need one for each shelf you plan to use.
- Growing Medium or Reused Containers: We are not using traditional soil. Instead, we’ll use a soilless mix. The most common and effective one is a combination of coco peat (which holds moisture), perlite (for aeration), and vermiculite (retains water and nutrients). This mix is lightweight, sterile, and provides excellent support for plant roots.
- Organic Seeds: Your harvest will only be as good as your seeds. Start with easy-to-grow leafy greens and herbs. My recommendation for a beginner’s list includes: Palak (Spinach), Dhania (Coriander), Pudina (Mint), Lettuce, Methi (Fenugreek). These grow quickly and give you the satisfaction of a fast harvest. Always look for organic, non-GMO seeds from a trusted source.
- Nutrients & Compost: Since our growing medium is inert, we need to provide the food. You can buy ready-made hydroponic nutrient solutions (like NPK – Nitrogen, Phosphorus, Potassium mixes). Even better, start a small composting bin for your kitchen waste. A simple pot or a small bin with a lid is all you need. This kitchen-to-farm cycle is the heart of sustainable urban living and cuts down on your costs significantly.
- Hand Tools: Gloves, trowel, hand sprayer, scissors, and a watering can. Reuse kitchen knives or plastic spoons too.
Total Cost Breakdown: From Budget-Friendly to Premium
Starting a vertical farm at home can be as affordable or as advanced as you want it to be. Let’s look at these possible budgets.
Option 1 – Ultra Low Cost (₹1500–₹2000):
- Use old kitchen shelves or plastic crates
- DIY compost with kitchen waste
- Use sunlight (skip grow lights)
- Buy seeds from local mandi or seed shops
Option 2 – Mid-Range Setup (₹2500–₹3500):
- Buy 3–tier plastic rack from Amazon/local shop
- Basic LED grow light (₹500–₹800)
- Quality organic potting mix and seeds
Option 3 – Smart Setup (₹4000–₹5000):
- 4-tier metal rack
- Two LED grow lights
- Smart compost bin (bokashi or aerobic)
- Branded grow media like cocopeat and vermicompost
Remember, the lights are an investment. Better quality lights will lead to healthier plants and more successful harvests, paying for themselves over time with the money you save on groceries.
The Scientific Heart: Why Vertical Growing Works
Many people I talk to are skeptical. How can plants grow without direct sunlight and soil? The answer lies in Controlled Environment Agriculture (CEA). We are not replacing nature; we are recreating its ideal conditions.
Plants need three main things to grow: light, water, and nutrients.
- Light: As mentioned by the Indian Council of Agricultural Research (ICAR), specific light spectrums trigger photosynthesis most efficiently. Our full-spectrum LEDs mimic the sun’s most productive rays, but without the harmful UV radiation or the unpredictability of a cloudy day.
- Water & Nutrients: In traditional farming, roots search for water and nutrients in the soil. In our soilless mix, we deliver these directly to the roots in a readily available form. The coco peat acts like a sponge, holding the nutrient-rich water exactly where the roots need it. This method is incredibly efficient, often using up to 90% less water than conventional agriculture, a fact highlighted in many reports by global bodies like the FAO.
By controlling these factors, you eliminate pests, diseases, and weather-related problems. You are essentially giving your plants a five-star hotel experience, allowing them to focus all their energy on growing strong and healthy.
Your 7-Day Guide on How to Build a Vertical Farm at home
Feeling ready? Let’s break down the setup process into a simple, one-week timeline.
- Day 1: Assemble Your Structure. Build your rack and place it in your chosen spot. This is the foundation of your farm. Ensure it’s stable and not wobbly.
- Day 2: Install the Lights. Fix your LED grow lights to the underside of each shelf, right above where your plant trays will be. Use zip ties or clips to secure the wires neatly. Plug them into a timer if you have one, setting it for 12-14 hours of ‘daylight’.
- Day 3: Prepare the Growing Medium. Take your coco peat brick and soak it in water. It will expand dramatically. Once it’s soft and crumbly, mix in your perlite and vermiculite. Your ‘soil’ is now ready.
- Day 4: Sow Your Seeds. Fill your seedling trays or small pots with the prepared medium. Moisten it with a light spray of water. Now, plant your seeds according to the packet instructions—usually just a few millimetres deep. Don’t plant them too deep!
- Day 5: Placement and First Watering. Place the trays on the racks under the lights. Give them another gentle watering. The first few days are crucial for germination. Keep the medium consistently moist but not waterlogged.
- Day 6: Start Your Compost. Designate a small, lidded bin as your composter. Start adding your daily kitchen scraps like vegetable peels, coffee grounds, and eggshells. This will become nutrient-rich ‘black gold’ for your plants in a few weeks.
- Day 7: Observe and Learn. Your active setup is complete! For the next week, your main job is to observe. Check the moisture levels daily. Watch for the first tiny green shoots to emerge. This is the moment you truly become a farmer.
Need the whole planning flow? Follow the Step-by-Step Vertical Farming guide.
Case Study: Priya’s Balcony Farm in Pune
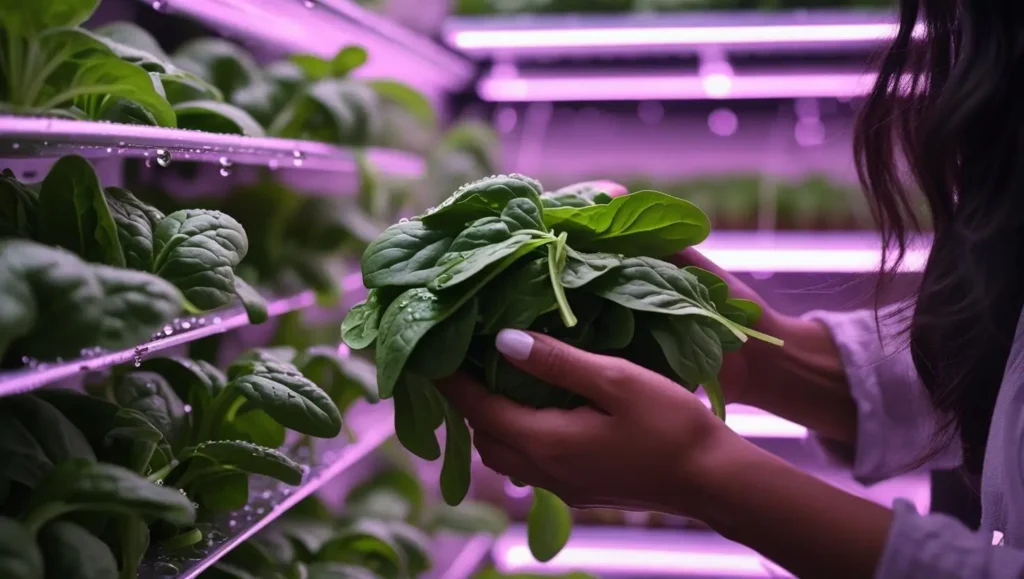
Let me tell you about Priya, an IT professional from Pune I connected with online. Living in a small apartment, she missed the taste of fresh vegetables from her mother’s garden. Frustrated with the quality of produce available locally, she decided to start her own vertical farm on her tiny kitchen balcony.
She started small, with a 3-tier rack and some basic lights, investing about ₹2,500. Her first crop was just palak and coriander. She told me the biggest challenge was getting the watering right initially. But within three weeks, she was harvesting her own greens for her morning smoothie.
Today, her setup has expanded. She grows lettuce, tomatoes, and even strawberries, all in that same small space. She said the best part isn’t just the fresh food, but the daily ritual of tending to her plants. It’s her “digital detox.” Priya’s story is a wonderful testament to the power of starting a vertical farm. It shows that you don’t need acres of land, just a little bit of passion and willingness to learn.
A Greener, Smarter Future in Every Home
Learning how to build a vertical farm at home is more than just a hobby; it’s a step towards a more self-reliant and sustainable future. In a country like India, where our agricultural backbone is strained, empowering individuals to grow their own food, even on a small scale, is a powerful movement.
This isn’t about replacing our hardworking farmers. It’s about supplementing our food system, reducing food miles, ensuring access to pesticide-free produce, and reconnecting us with the process of how food is grown. Imagine if millions of homes across our cities had a small green corner. The collective impact on our environment, our health, and our economy would be immense. It’s a vision of a smarter, greener India, built one balcony at a time.
Want to keep it fully organic and indoors? Here’s our Indoor Organic Farming Guide.
If you found this guide valuable, please do share it with your friends, family, and fellow gardening enthusiasts. Let’s grow this movement together.





One Comment